Guide
How to build a home bar on a budget
You need five tools, three glass shapes and a surface. Everything else in the catalogue is a later decision, and most of it is a decision you can skip entirely.
By Michael W. · Published October 2026
The short answer
Build a home bar in this order: a jigger, a shaker, a strainer, a bar spoon, better ice, then glassware, then somewhere to put it all. The jigger comes first because measurement is the only thing that decides whether a drink tastes the same twice, and free-pouring drifts by about a quarter ounce - which in a three-ingredient cocktail is the whole balance. The shaker comes second, and a single kit covering tools one to four is usually the cheapest honest route. Ice comes third and costs almost nothing, because a mold in the freezer you already own changes more drinks than any tool upgrade. Glassware comes fourth, three shapes only. The cart comes last, because a kitchen counter and a tray work perfectly well and a cart you cannot stock is just furniture.
We earn a commission if you buy through the links on this page, at no extra cost to you. It never changes which product we pick. How we are funded.
Quick picks
| # | Product | Best for | Price |
|---|---|---|---|
| 1 | 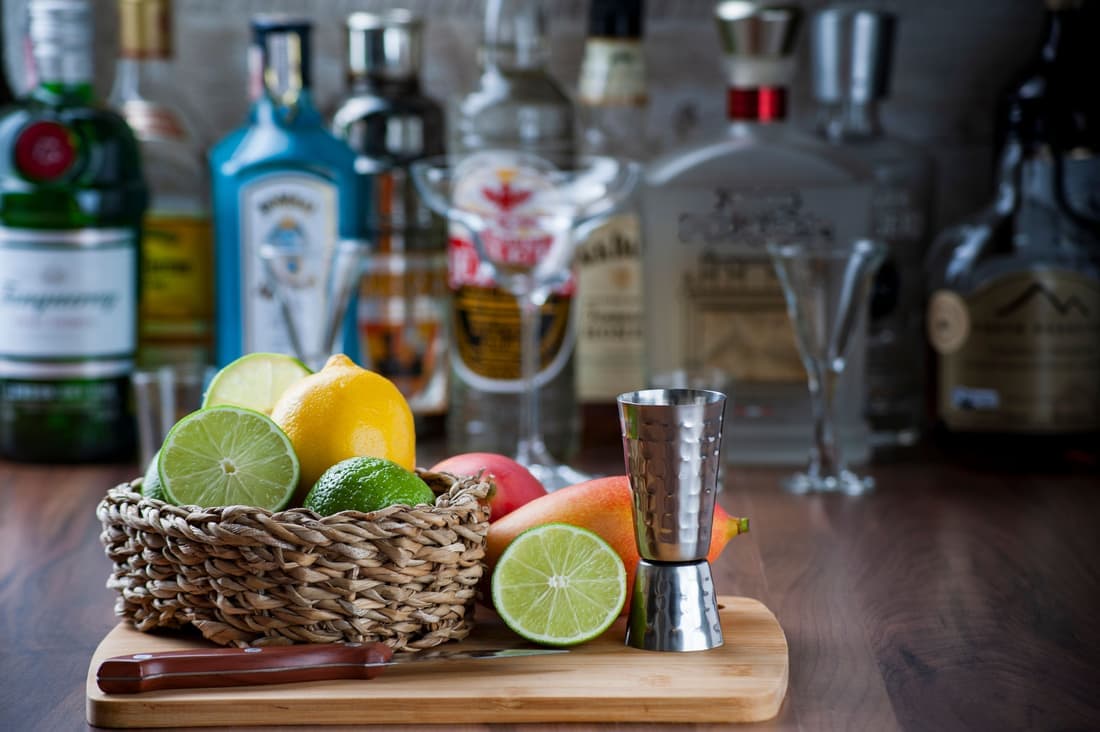 Barfly Mixologist Bar Set The cheapest honest starting point | One-purchase setup | |
| 2 | 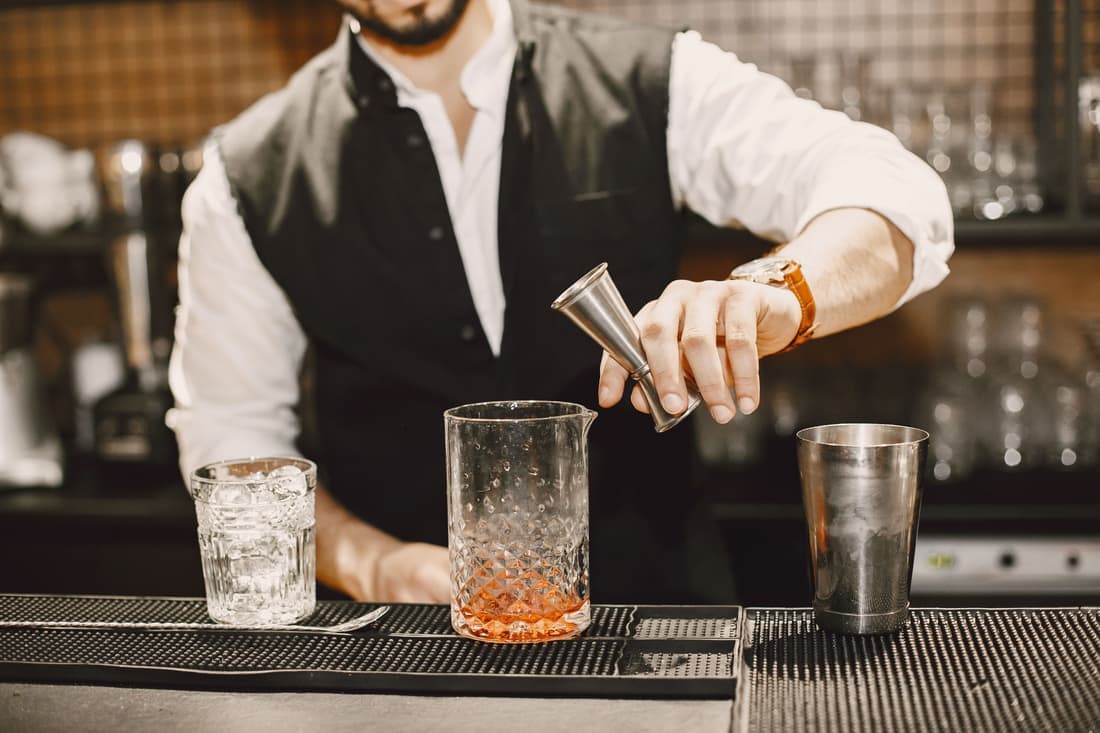 OXO Steel Double Jigger Buy this first if you buy nothing else | Reading the pour from above | |
| 3 | 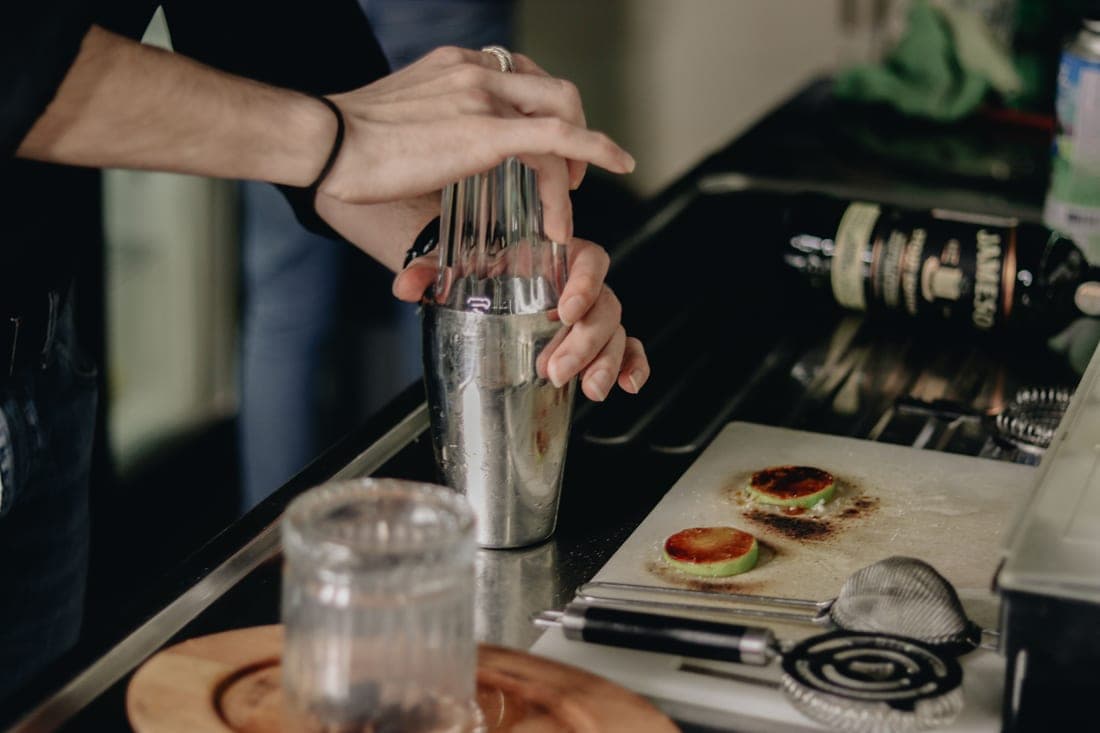 OXO Steel Cocktail Shaker The no-learning-curve shaker | Handing to a guest | |
| 4 | 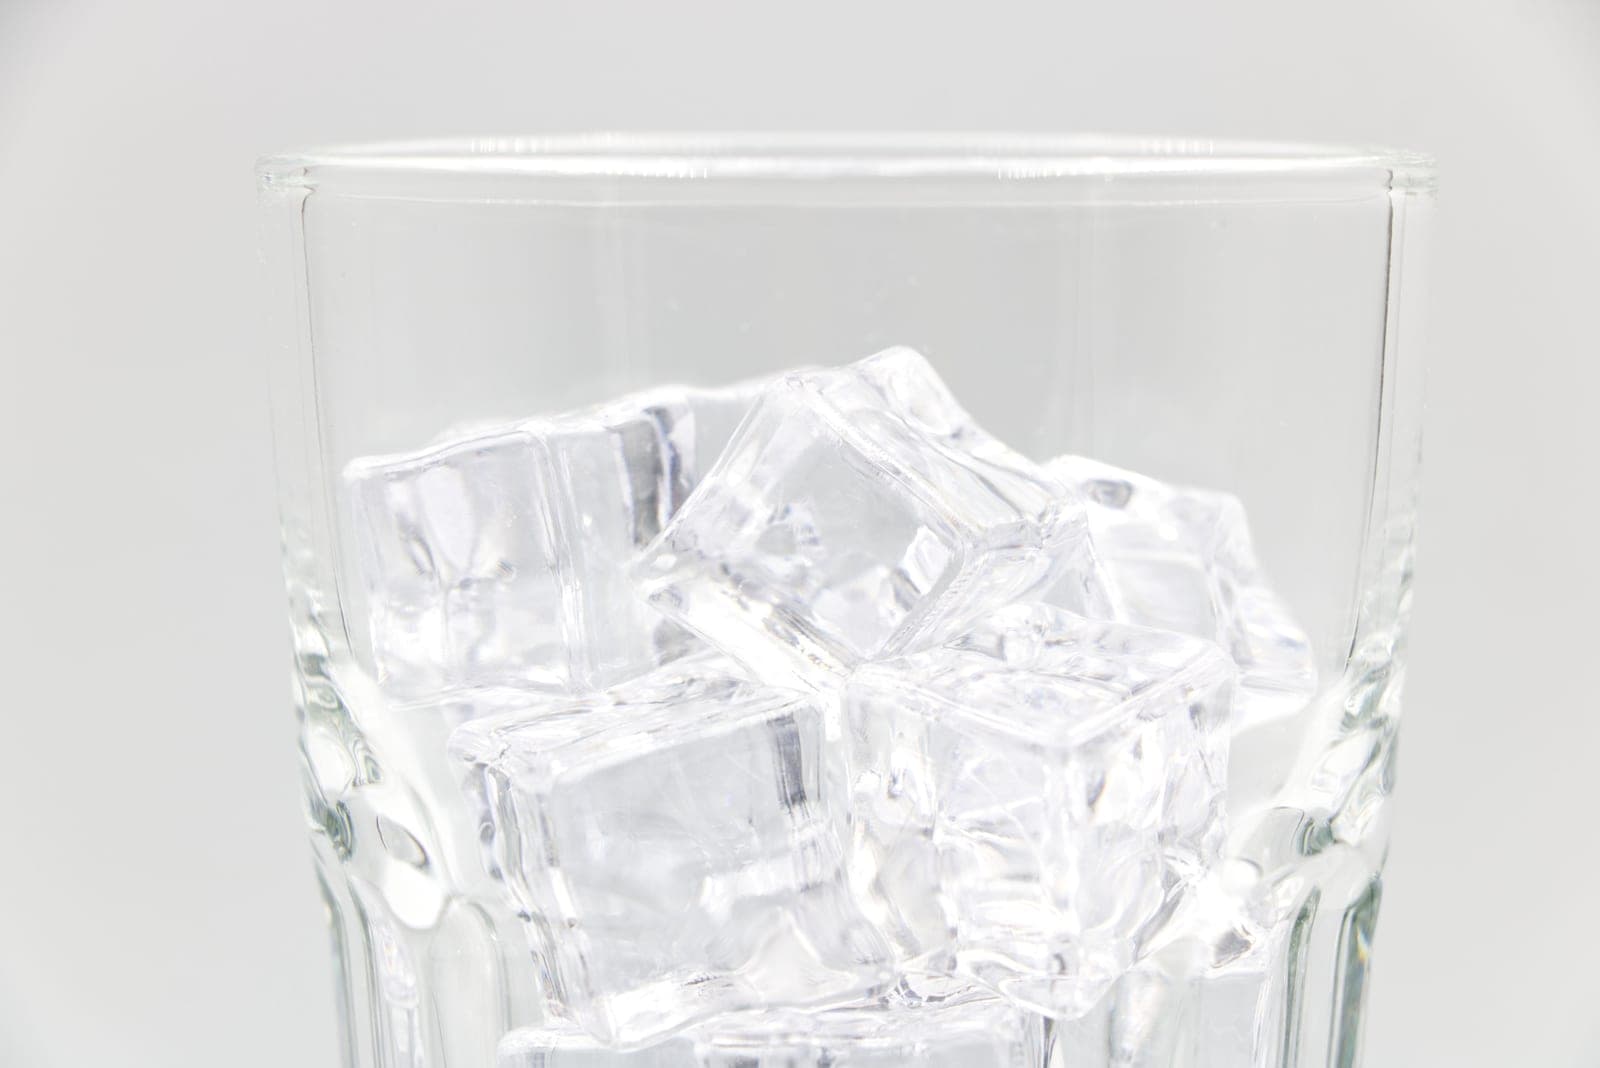 True Cubes Clear Ice Cube Tray The upgrade that costs the least and changes the most | First clear-ice upgrade | |
| 5 |  Libbey Signature Kentfield Rocks Glasses The only glass you need at first | Everyday rocks glass |
Scroll the table sideways on a narrow screen. Prices are set by the retailer and change, so every price link opens the current listing rather than quoting a number here.
The short list
Five tools, and nothing else to start
A home bar is a smaller list than the catalogues suggest. These five cover every cocktail in the canon, and the order is deliberate - each one fixes a bigger problem than the one below it.
| # | Buy | What it fixes | Can you improvise? |
|---|---|---|---|
| 1 | A jigger | Drinks tasting different every time | No - kitchen spoons are not accurate enough |
| 2 | A shaker | Shaken drinks at all | Badly - a jar leaks and does not chill |
| 3 | A strainer | Ice and pulp in the glass | A kitchen sieve works, poorly |
| 4 | A bar spoon | Cloudy stirred drinks | A long kitchen spoon, awkwardly |
| 5 | Better ice | Watery drinks | No - but it is nearly free |
What is not on the list: a muddler, a smoker, a mixing glass, a citrus press, a channel knife, a lewis bag, a cart. Every one of those is a real tool with a real use, and every one of them is a later purchase. Home bar essentials checklist is the longer version of this list once the five are in place.
Why the jigger is first
The cheapest tool is the one that matters most
A cocktail is a ratio. A daiquiri is 2 : 1 : 0.75 and it is a good drink; the same ingredients at 2 : 1.5 : 0.5 is a sour mess. Free-pouring drifts by roughly a quarter ounce per pour even for people who do it professionally, and a quarter ounce across three ingredients is a different drink.
So the jigger is not a precision fetish, it is the thing that makes a recipe repeatable. It also makes every other upgrade legible: if your pours are consistent, you can tell whether a better shaker or better ice actually changed anything. If they are not, you are guessing.
Buy a double jigger with interior graduations - markings inside the cone for the intermediate measures, so one tool covers 0.5, 0.75, 1, 1.5 and 2 oz. Jigger sizes explained covers which graduations matter, how to use a jigger covers the technique, and Japanese vs American jigger covers the two styles.
Kit or separates
When a bartender kit is the cheaper answer
On a budget, a kit usually wins. Four tools bought separately in matched quality costs more than one set that includes them, and the tools in a decent kit are the same tools. The risk is that cheap kits pad the count with items nobody uses - a decorative strainer, a double-ended measure with no graduations, a trident spoon that cannot stir.
- Check the jigger. If the kit's jigger has no interior graduations, you will buy a jigger anyway and the kit just got more expensive.
- Check the strainer. A Hawthorne with a dense spring, not a slotted disc. The spring is what catches the ice.
- Count the tools you will use. A six-piece kit with four useful tools beats a twelve-piece kit with four useful tools.
- Ignore the stand. A stand is storage, not function, and it takes counter space you may not have.
Best bartender kits covers the field, and best barware sets covers the sets that include glassware too. If you would rather buy separates in the right order, best cocktail shakers for beginners is the place to start.
Free wins
Five things that cost nothing
- Chill the glass. Five minutes in the freezer. It does more for an up-serve than any tool on this page, and it costs nothing.
- Make syrup instead of buying it. Equal parts sugar and hot water, stirred, kept in a bottle in the fridge. Rich syrup is two parts sugar to one water.
- Freeze ice a day ahead. Fresh ice is wet ice, and wet ice dilutes from the first second. A day in the freezer makes the cubes you already make noticeably better.
- Dump the meltwater before you shake. One second, and it removes the film of water that starts diluting the drink before you have measured anything.
- Stir the drinks that should be stirred. An old fashioned, a Manhattan and a Negroni are stirred. Shaking them clouds and aerates a drink that is meant to be silky - see mixing glass vs shaker.
Your kitchen already owns several bar tools. A vegetable peeler makes a better citrus twist than most channel knives. A wooden spoon handle muddles mint adequately. A small sieve double-strains. None of these is the right tool forever, and all of them work tonight.
Ice
The upgrade with the best ratio of effect to cost
Ice is the largest ingredient by volume in most cocktails and the only one almost nobody chooses deliberately. Freezer-tray crescents are thin, hollow and wet: they shatter in the shaker, they over-dilute in the glass, and they are the reason a drink made with good spirit tastes watery.
The fix does not require a machine. An insulated mold in the freezer you already own produces dense, clear cubes by directional freezing - and the mechanism is simple enough that it is worth understanding rather than just buying: see directional freezing explained. For a budget build, a mold is the right call and a countertop machine is not.
- In the shaker: 1 to 1.25 inch cubes, filling the large tin about two-thirds to three-quarters - see what size ice for a cocktail shaker.
- In the glass: one large 2-inch cube or 60mm sphere, for anything spirit-forward on the rocks.
- Never: crushed or nugget ice in a stirred drink. It dilutes by design.
- Free improvement: freeze a day ahead and keep ice in a lidded container rather than an open tray.
Glassware
Three shapes, four of each, and no martini glasses
Glassware is where budgets evaporate, because every drink appears to need its own shape. It does not. Three shapes cover the canon: a 12 oz rocks glass, a 9 oz coupe and a 5 to 6 oz Nick & Nora. Four of each is a dinner party.
Buy the rocks glasses first, because more drinks go in that shape than any other, and buy 12 oz rather than 9 - a 2-inch cube displaces roughly 4 oz, so the smaller glass is full to the rim before the drink is finished. Best glassware sets for a home bar covers the whole cupboard, and coupe glass size guide covers the up-serve sizing.
Skip the V-bowl martini glass entirely. It warms the drink, it spills, and a coupe does the job better for less. That is one whole shape and four glasses you do not have to buy.
The surface
Why the cart comes last
A bar cart is the most photographed part of a home bar and the least important. It stores and displays; it does not improve a single drink. On a budget it is the last purchase, and in the meantime a kitchen counter with a tray on it is a completely functional bar station.
When you do buy one, the dimensions matter more than the finish - specifically the vertical clearance between shelves, because a cart that cannot stand a 750ml bottle upright is a shelf of lying-down bottles. Bar cart dimensions guide covers the measurements, best bar carts covers the field, and how to stock a bar cart covers what goes on it.
A tray is the budget version of a cart and it is genuinely good. It defines a station, it protects the counter, and it can be carried to the table. Start there and buy the cart when the bar has outgrown it rather than before.
The order
A build sequence you will not have to redo
- A jigger with interior graduations. The only tool with no honest substitute.
- A shaker - cobbler, or a kit with tins and a Hawthorne. This is where a kit saves money.
- A clear-ice mold. Nearly free in running cost, and it changes every drink you make over ice.
- Four 12 oz rocks glasses. One shape, four glasses, most of your drinks covered.
- A bar spoon, 11 to 12 inches. Once you start stirring - see bar spoon length guide.
- Four coupes. When you start making drinks served up.
- A tray, then eventually a cart. The last thing, not the first.
Nothing in that sequence gets replaced by the next step, which is the actual point of a budget build: you are not buying cheap versions of things, you are buying fewer things in the right order. The home bar upgrade guide picks up where this leaves off, diagnosing by symptom rather than by category.
The picks in full
Every pick, and who each one is for
01 · The cheapest honest starting point
Barfly Mixologist Bar Set
Barfly by Mercer · Mid tier
The kit to buy when you want everything at once and you would rather not assemble six separate orders.
Tins, strainer, jigger and spoon in one purchase, in 18/8 stainless with a stand. Buying a kit is almost always cheaper than four separate boxes, and in this case the contents are working tools rather than ornaments.
The specs that decide it
- Contents:
- shaker tins, jigger, strainer, bar spoon, muddler and more depending on set
- Material:
- 18/8 stainless steel
- Finishes:
- multiple
- Storage:
- stand or case depending on set
Who it is for
- Everything matches, which is the one genuine advantage of a kit over piecing it together
- Tool quality is a real step above a supermarket boxed set
- A stand keeps wet tools off the counter
Where it gives ground
- Kits always carry one or two tools you will never use
- Buying the same tools separately usually gets you a better strainer
Skip this one if you already own tins and a jigger. At that point you are buying duplicates to get a muddler.
02 · Buy this first if you buy nothing else
OXO Steel Double Jigger
OXO · Entry tier
Angled interior markings you can read while pouring, which removes the bend-down-and-squint step entirely.
A double jigger with interior graduations you can read from above - which is what you need when you are pouring at arm's length into a tin. Measurement is the single cheapest upgrade available to any home bar.
The specs that decide it
- Sizes:
- dual-sided, multiple interior marks
- Markings:
- angled for top-down reading
- Material:
- stainless steel
- Dishwasher:
- yes
Who it is for
- Angled markings genuinely work - you stop lowering your head to check a pour
- Wide base is very hard to tip
- Cheap enough to be the jigger you leave out
Where it gives ground
- Bulkier than a Japanese jigger, so it is slower into a tin
- Markings will fade with years of dishwasher cycles
Skip this one if you want the classic tall silhouette on an open bar. This is a working tool, not a display piece.
03 · The no-learning-curve shaker
OXO Steel Cocktail Shaker
OXO · Entry tier
A cobbler that seals and pours without a fight, for the times when the person shaking is not you.
A three-piece cobbler with the strainer built into the lid, so it is a complete shaking setup on its own. Nothing to learn, nothing else to buy, and it is the shaker you can hand to a guest.
The specs that decide it
- Type:
- cobbler, three-piece
- Strainer:
- built into the lid
- Material:
- stainless steel
- Capacity:
- single to double drink
Who it is for
- Built-in strainer means one object, not three, which is what makes it guest-proof
- Seals reliably - the failure mode of cheap cobblers is a lid that freezes on, and this is not one
- Dishwasher tolerant
Where it gives ground
- Built-in strainer is coarser than a real Hawthorne
- Capacity caps out well below a 28 oz tin
Skip this one if you are the only person who ever makes drinks in your house. Tins are faster, hold more and strain better.
04 · The upgrade that costs the least and changes the most
True Cubes Clear Ice Cube Tray
True Cubes · Entry tier
The cheapest honest route to genuinely clear 2-inch cubes, and the one most people should buy first.
Four clear 2-inch cubes per cycle out of the freezer you already own. Ice is the largest ingredient by volume in most drinks and the only one most people never choose - which makes this the best value purchase on the whole site.
The specs that decide it
- Output:
- 4 cubes per cycle
- Cube size:
- roughly 2 in
- Method:
- insulated directional freezing
- Freezer time:
- about 18 to 24 hours
Who it is for
- Directional freezing done properly in an insulated shell, so the cloud collects in the sacrificial base
- Fits a standard freezer shelf without rearranging everything
- Nothing to plug in, nothing to service
Where it gives ground
- One cycle a day, so four cubes is your ceiling unless you buy two
- The base block has to be discarded or crushed each cycle
Skip this one if you routinely host more than two people, or you want ice on demand rather than ice you planned for yesterday.
05 · The only glass you need at first
Libbey Signature Kentfield Rocks Glasses
Libbey · Entry tier
Thin-walled, laser-cut rim, US-made and cheap enough to own eight - the sensible default rocks glass.
12 oz, chip-resistant laser-cut rim, sold in fours. One shape covers old fashioneds, Negronis, whiskey on a rock and anything else short - and 12 oz is the capacity that accepts a 2-inch cube without reaching the rim.
The specs that decide it
- Capacity:
- 12 oz (also sold 9 oz)
- Glass:
- Libbey ClearFire composition
- Rim:
- laser cut, chip resistant
- Sets:
- 4 and 8
Who it is for
- 12 oz is the size that actually fits a 2-inch cube with room for the pour
- Laser-cut rim survives a dishwasher far better than a rolled rim
- Cheap enough that breaking one is an annoyance, not an event
Where it gives ground
- Thin walls warm a neat pour faster than heavy crystal
- Plain enough to be forgettable next to a cut glass
Skip this one if your rocks glass is the centerpiece of the drink. A heavier cut or crystal glass reads better in the hand.
Questions
Related questions
- What do you need to build a home bar on a budget?
- Five tools: a jigger, a shaker, a strainer, a bar spoon and better ice. Then three glass shapes - a 12 oz rocks glass, a 9 oz coupe and a Nick & Nora - and a surface, which can be a tray on a kitchen counter. Everything else is a later decision.
- What should you buy first for a home bar?
- A jigger. Free-pouring drifts by about a quarter ounce, which across three ingredients is a different drink, so measurement is the only thing that makes a recipe repeatable. It is also the cheapest tool on the list.
- Is a bartender kit worth it for a beginner?
- Usually yes on a budget - four tools bought separately in matched quality costs more. Check two things before buying: that the jigger has interior graduations, and that the strainer is a Hawthorne with a dense spring rather than a slotted disc. Ignore the piece count and the stand.
- Do you need a bar cart for a home bar?
- No. A cart stores and displays; it does not improve a drink. A tray on a kitchen counter defines a working station perfectly well, and buying the cart last means you buy one sized to a bar you actually have.
- What is the cheapest way to improve home cocktails?
- Ice, then chilling the glass. Both cost almost nothing - an insulated mold in the freezer you already own, and five minutes in the freezer for the glass - and between them they fix the watery, lukewarm drink that most home bars produce.
- How much glassware do you need for a home bar?
- Twelve glasses: four 12 oz rocks, four 9 oz coupes and four Nick & Noras. Buy the rocks glasses first because more drinks go in that shape, and skip the V-bowl martini glass entirely - a coupe does the same job better.
Read next
Related reading
- The home bar upgrade guide
Find your weak link by symptom rather than by category - and the two cases where gear is not the answer.
- Best barware sets
What good sets contain, what every set leaves out, and when buying separately wins.
- Best cocktail shakers for beginners
A cobbler for the first drink, weighted tins for the hundredth - four picks that forgive a learning curve.
- How to use a jigger
Fill to the brim, hold it low, pour once - and the measuring order that means you rarely rinse.
- Best glassware sets for a home bar
Three shapes, four of each, and the 12 oz rocks glass first - how to buy glassware once instead of three times.
- Home bar essentials checklist
Five tools, three glass shapes, one ice solution, six bottles - and the order worth buying them in.